I used to hate preserving our garden produce when I was a child. It would come in large batches on hot summer days when all you wanted to do was chill out with friends at the pool, or go on a hiking trip in the mountains. Instead, we were stuck in the kitchen overwhelmed with apples, berries or cucumbers that had to be dealt with urgently – or they would go bad.
I didn’t understand as a teenager what was the point in having a pantry filled with jams, bottled fruit and all manner of pickles. Yet my disdain only lasted through secondary school. Oh, how much I missed those bottles when I left home to study at university and live at students’ apartments!
Once I started my own family, I would take every opportunity to get fresh garden produce from a reliable source and preserve it. I would phone my mum to ask for detailed instructions, and go to great lengths to achieve the same luscious flavours in my preserves as she’d had in hers. I was so proud when she praised my jam or bottled apricots on her occasional visits.

Like my mum, I have never used any chemicals in my preserves, and yet hardly ever had them spoilt. If I found a thin layer of mildew on top of my jam on a few occasions, I would just take it away with a spoon, then wipe the rim of the jar and the lid thoroughly with a clean cloth. Once opened, I put the jam in the fridge and used it within two weeks without any harm or digestive problems whatsoever.
I still believe that if you have fresh produce of good quality from a reliable source, and are careful enough to clean and prepare it well before preserving, you are fine without chemical additives. Keeping your kitchen worktops clean is also very important.
Here are a few essential rules Mum has taught me about preserving fruit:
- Before you start, wash the jars and bottles thoroughly, preferably in hot water with a few drops of washing-up liquid added. Let them dry off on a clean dish-towel.
- Use firm but ripe fruit for bottling, soft and slightly overripe pieces are more suited for jam. Remember to rinse the fruit under running water, remove the stones where applicable, and cut off any blemishes.
- The amount of sugar you need will depend on the fruit sweetness. A general rule is 500 g sugar for a kilo of fruit like blueberries or redcurrants. Apricots, strawberries or plums are sweeter, so you will only need 400 – 500 g sugar for a kilo of the fruit. The sweetness of fruit may vary within the same kind, so be sure to taste it before adding the sugar.
- Let your preserves cool down slowly after sterilizing them in a hot water bath or oven. You can cover them with a blanket to ensure slow cooling. To test the seal, turn the bottles/jars upside down. If the lids have sealed well, there will be no leakage of the contents.
And now off to making a blackberry jam. I just got two buckets of blackberries from my friend’s organic garden. They look and taste sumptuous, so I’m looking forward to the result.
Homemade Blackberry Jam
- 3 kg blackberries
- 1,5 kg sugar
- ground cinnamon (optional)
To prepare the fruit:
- Rinse the berries on a sieve under running water and let them dry off. Depending on the size of the sieve and the amount of the berries, you may have to do that in batches.
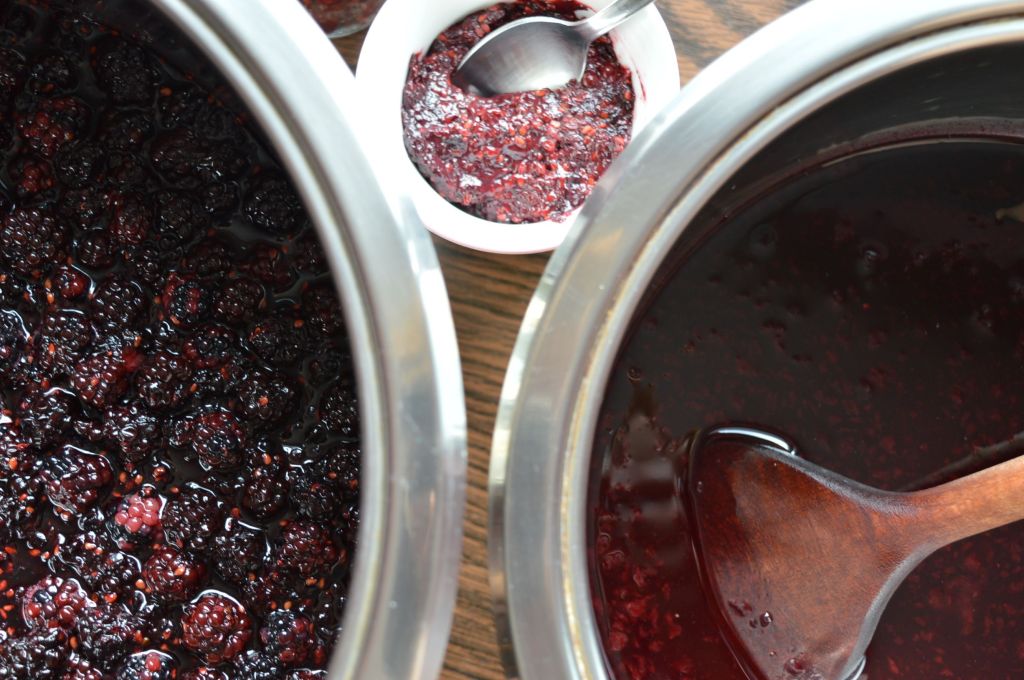
- Transfer the berries into a very large casserole. Because I wanted to make both a jelly (clear jam without pips) and a regular jam, I divided the berries into two smaller casseroles.
- Add the sugar and stir well with a wooden spoon to ensure all the berries are sweetened evenly. Cover with a lid and let stand overnight in a cool place.
- By the following morning the berries will have softened and released juices. Blend the sugared berries using a hand blender. Add the cinnamon if preferred (it gives the jelly/jam a nice, spicy twist) and stir well.
- If you want to make a jelly, place a fine mesh sieve over a deep bowl or a pot. Transfer some of the berries on it and mash them with the back of a spoon to extract juices, which will collect in the bowl/pot. Repeat in batches until you have juiced all the berries. It will take some time, but you can do something else in between, or work on your jam (as I did).
Tip: Don’t discard the fruit pulp as it makes a tasty addition to fruit and chocolate cakes. I have frozen small amounts of the pulp in yoghurt tubs to use in baking.
For both jelly and jam cooking the method is the same:
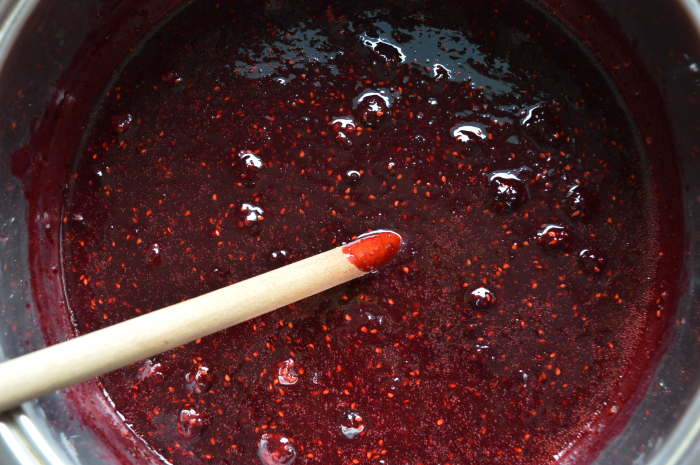
- Put a large non-stick pan with a wide bottom over a low heat. Pour 2 – 3 ladles of the juice/blended berries in the pan and cook, stirring constantly with a wooden spoon. The jelly/jam is of the right consistency when the spoon leaves a path behind in the pan.

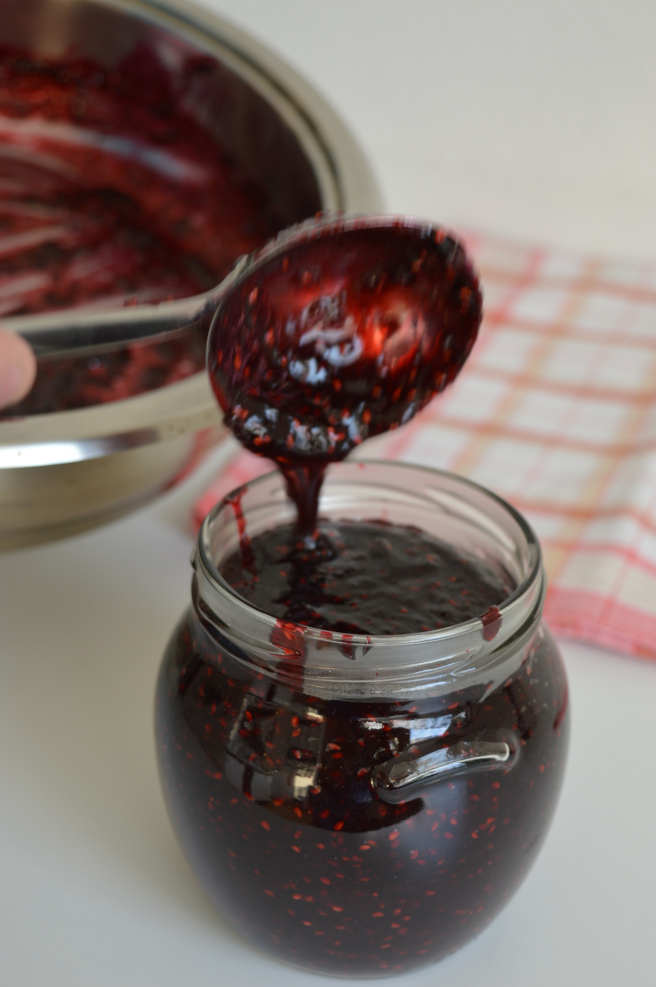
- Spoon or ladle the cooked jelly/jam to a clean jar. Repeat Step 1 with another batch of blended berries or juice. Remember the time you need to achieve the right consistency, so that all the jam or jelly is cooked to the same thickness. Transfer to the jar and repeat the cooking process until the jar is filled up to its grooves.
- Wipe the brim clean and screw on the lid while the jelly/jam is still hot. This will ensure the lid seals well. A short popping sound you hear later, as well as a slightly pulled-in lid indicate a good seal.
- When you have used all the juice/blended berries and filled all the jars, leave them to cool down and store in a cold dark place. Once opened, refrigerate and use the contents of the jar within two weeks.


Tell us what you think